
Your camera roll has thousands of photos. The problem is, a year later you can't remember where half of them were taken. Photos alone never tell the whole story.
A travel map does.


 Log in or Sign up
 FavoritesLog in or Sign up
 Help
HelpYour camera roll has thousands of photos. The problem is, a year later you can't remember where half of them were taken. Photos alone never tell the whole story.
A travel map does.
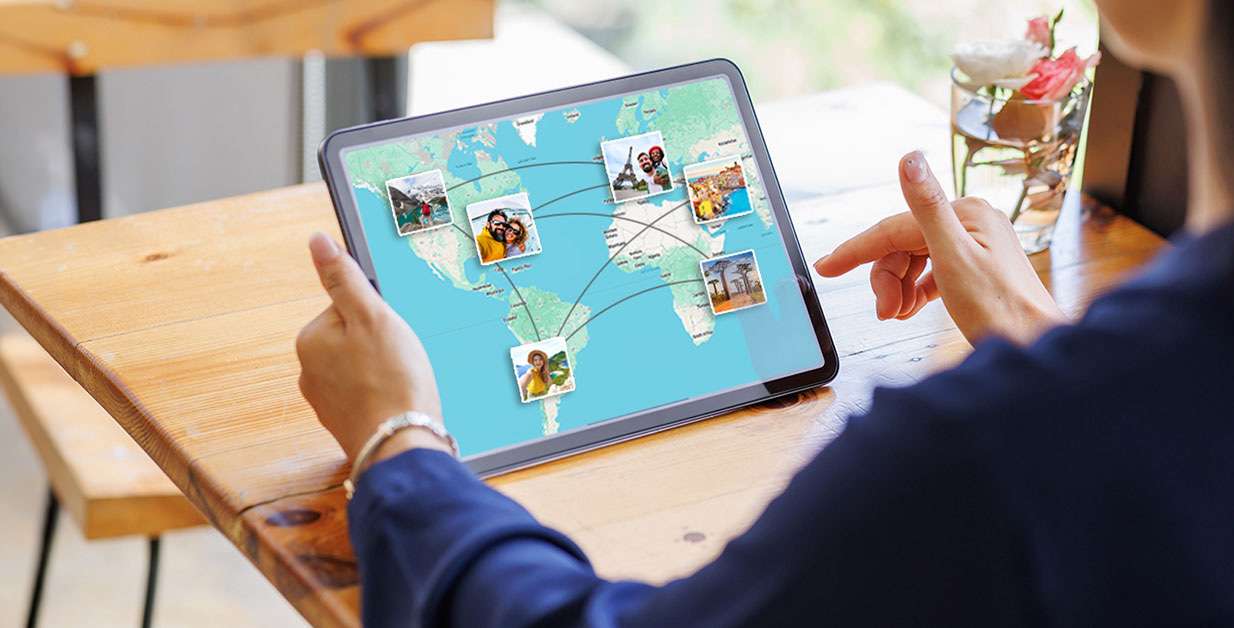
Not just where you went, but the exact street corner, the little beach nobody knew about, the market stall with the best meal of your life.
Pinned. Tagged. Yours forever.
This is how you actually remember your travels.
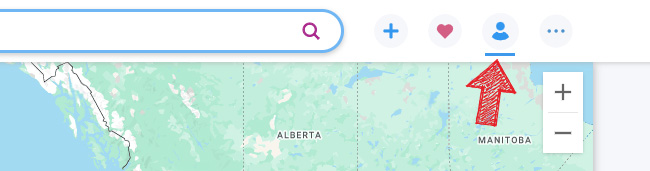
An Explorow account is completely free, and we will never will ask you to pay for your memories. To create one, simply click the user icon in the top right corner.
Confirm your email address, or you can simply register with Google or Facebook.
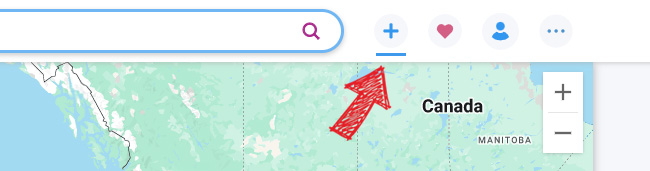
To add your first travel spot - a place you've visited and want to add to your personal map - click the plus icon in the top bar.
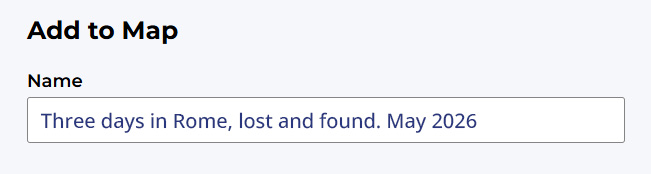
Give the spot a name, anything that comes to mind. How you remember it, what you saw, what happened there.
The next step is your photos and videos. Just click the Photos and Videos button and upload what you've captured.
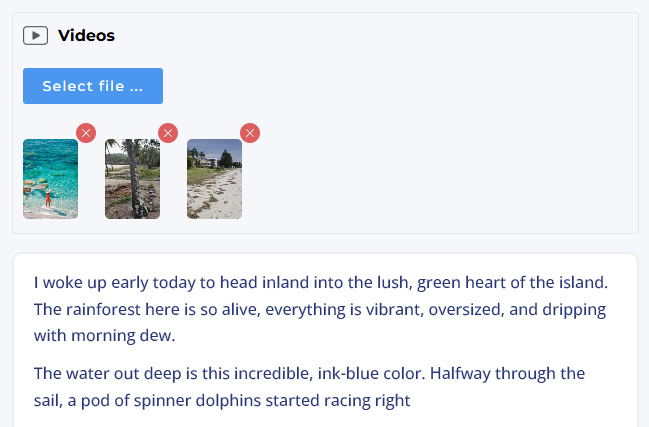
A very important part of creating your own map is setting the location. You can simply start typing the name of a city or anything else in the "Locate this place" field, and the system will suggest a choice.
Or you can drag the Pin directly on the map to pinpoint the exact spot you were at.
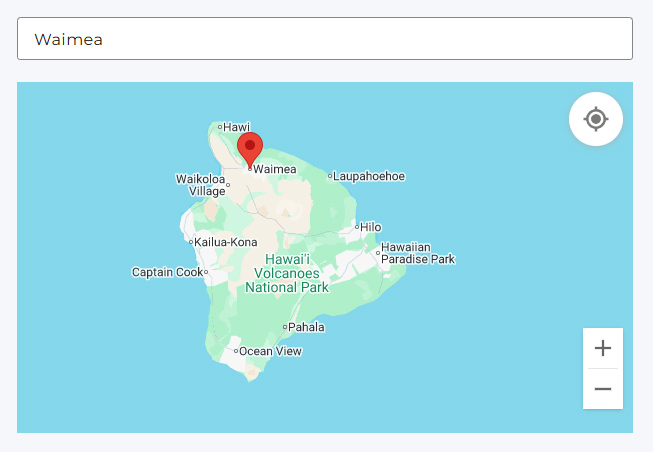
This works great if you want to create a Spot, for example, for a cozy little cottage on the Italian coast where you spent a wonderful day with your family. You can simply search for the nearest city, then drag the Pin to that exact spot, and your Spot will be positioned on the map exactly where you want to remember it.
You've added several spots from your last trip to Italy. Now comes the best part: create a Trip - a page that will bring together the Spots you've selected. In the top bar, select the "Heart" icon, then "Your Trips."
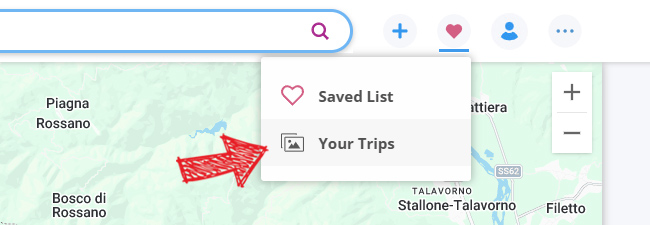
All your saved Trips are here. To add a new one, simply click the "Plus" icon, then give it a name, and that's it.
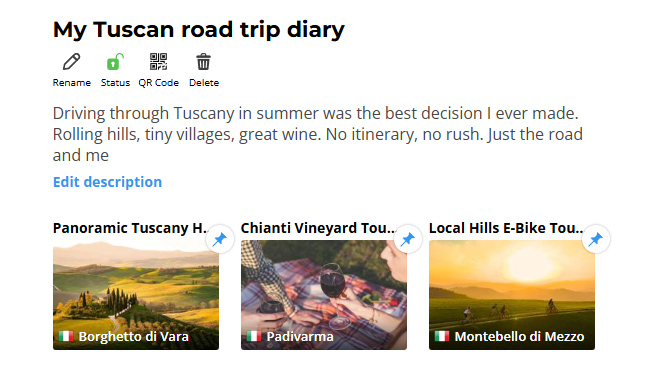
Here you can also add a description of where you were, where you went, and what you saw. And importantly, add connecting lines. Your Spots in this Trip will be shown on the map as a sequential journey, connected by a line from point to point ... exactly like the route maps of great explorers.
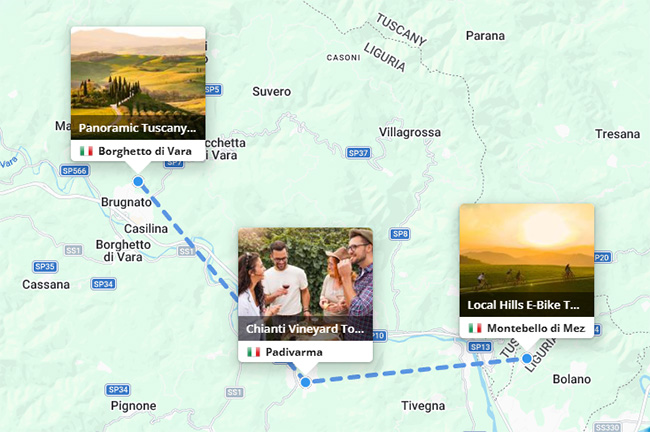
And now you have a complete page for your trip to Italy. Under each Spot will be the day you visited it, and on the map, all the points will be connected according to your route.
Clear, understandable, and impressive.
A great tool to make your map easier to use is Tags.
For example, #best-street-food when Crispy Chicken Tacos in Cancun were exceptionally delicious, or when a slow-cooked paella in Barcelona melted in your mouth.
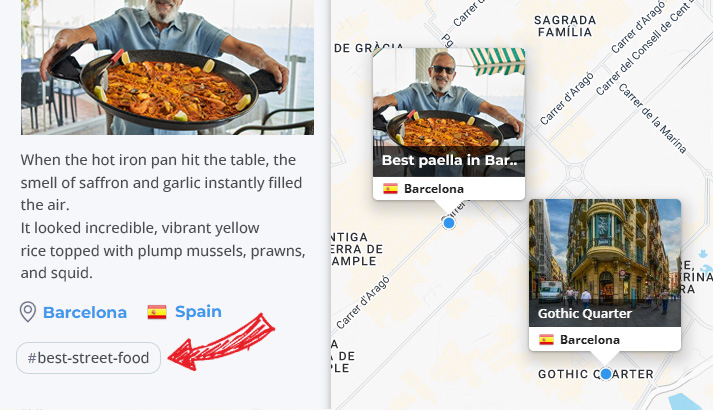
Next time you check your map or want to share a tip with friends about the best places to eat, just click #best-street-food, and you'll relive those delicious flavours.
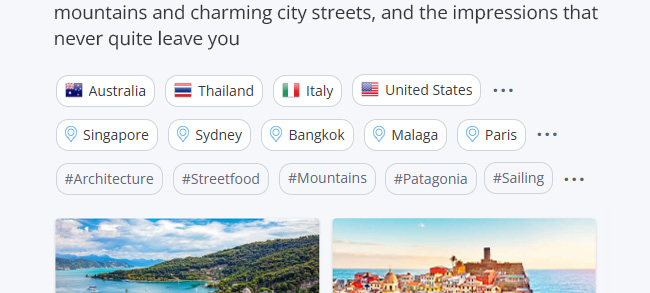
Filters are a handy feature. Want to remember where you were in 2014? Just click on 2014. Want to see all three trips to France, at different times, on a map? Easy! Click on the France filter. City, country - click - and the map will show only what you want to see.
You decide who sees your map and all your content.
You can make your Tuscany trip completely private, and no one but you will see what's on it. Or you can set the status to "Anyone with the link" and send the link to your friends; only they will be able to see the map.
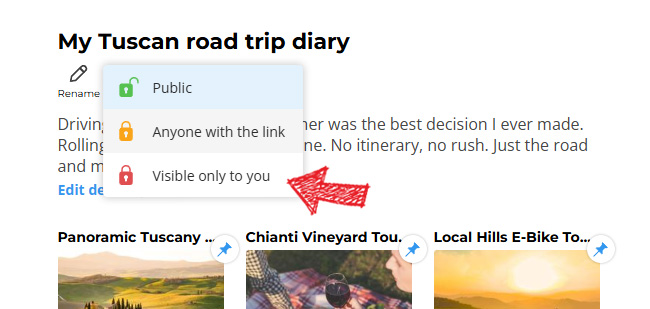
Each Spot and each Trip has its own individual settings, so you can make some Trips public, while others are only accessible via a link.
"This isn't just a map, it's your personal, dynamic atlas of all your incredible journeys. Your travel memories, mapped".
